 CONNECTICUT
Start with the whole room-facing wall.
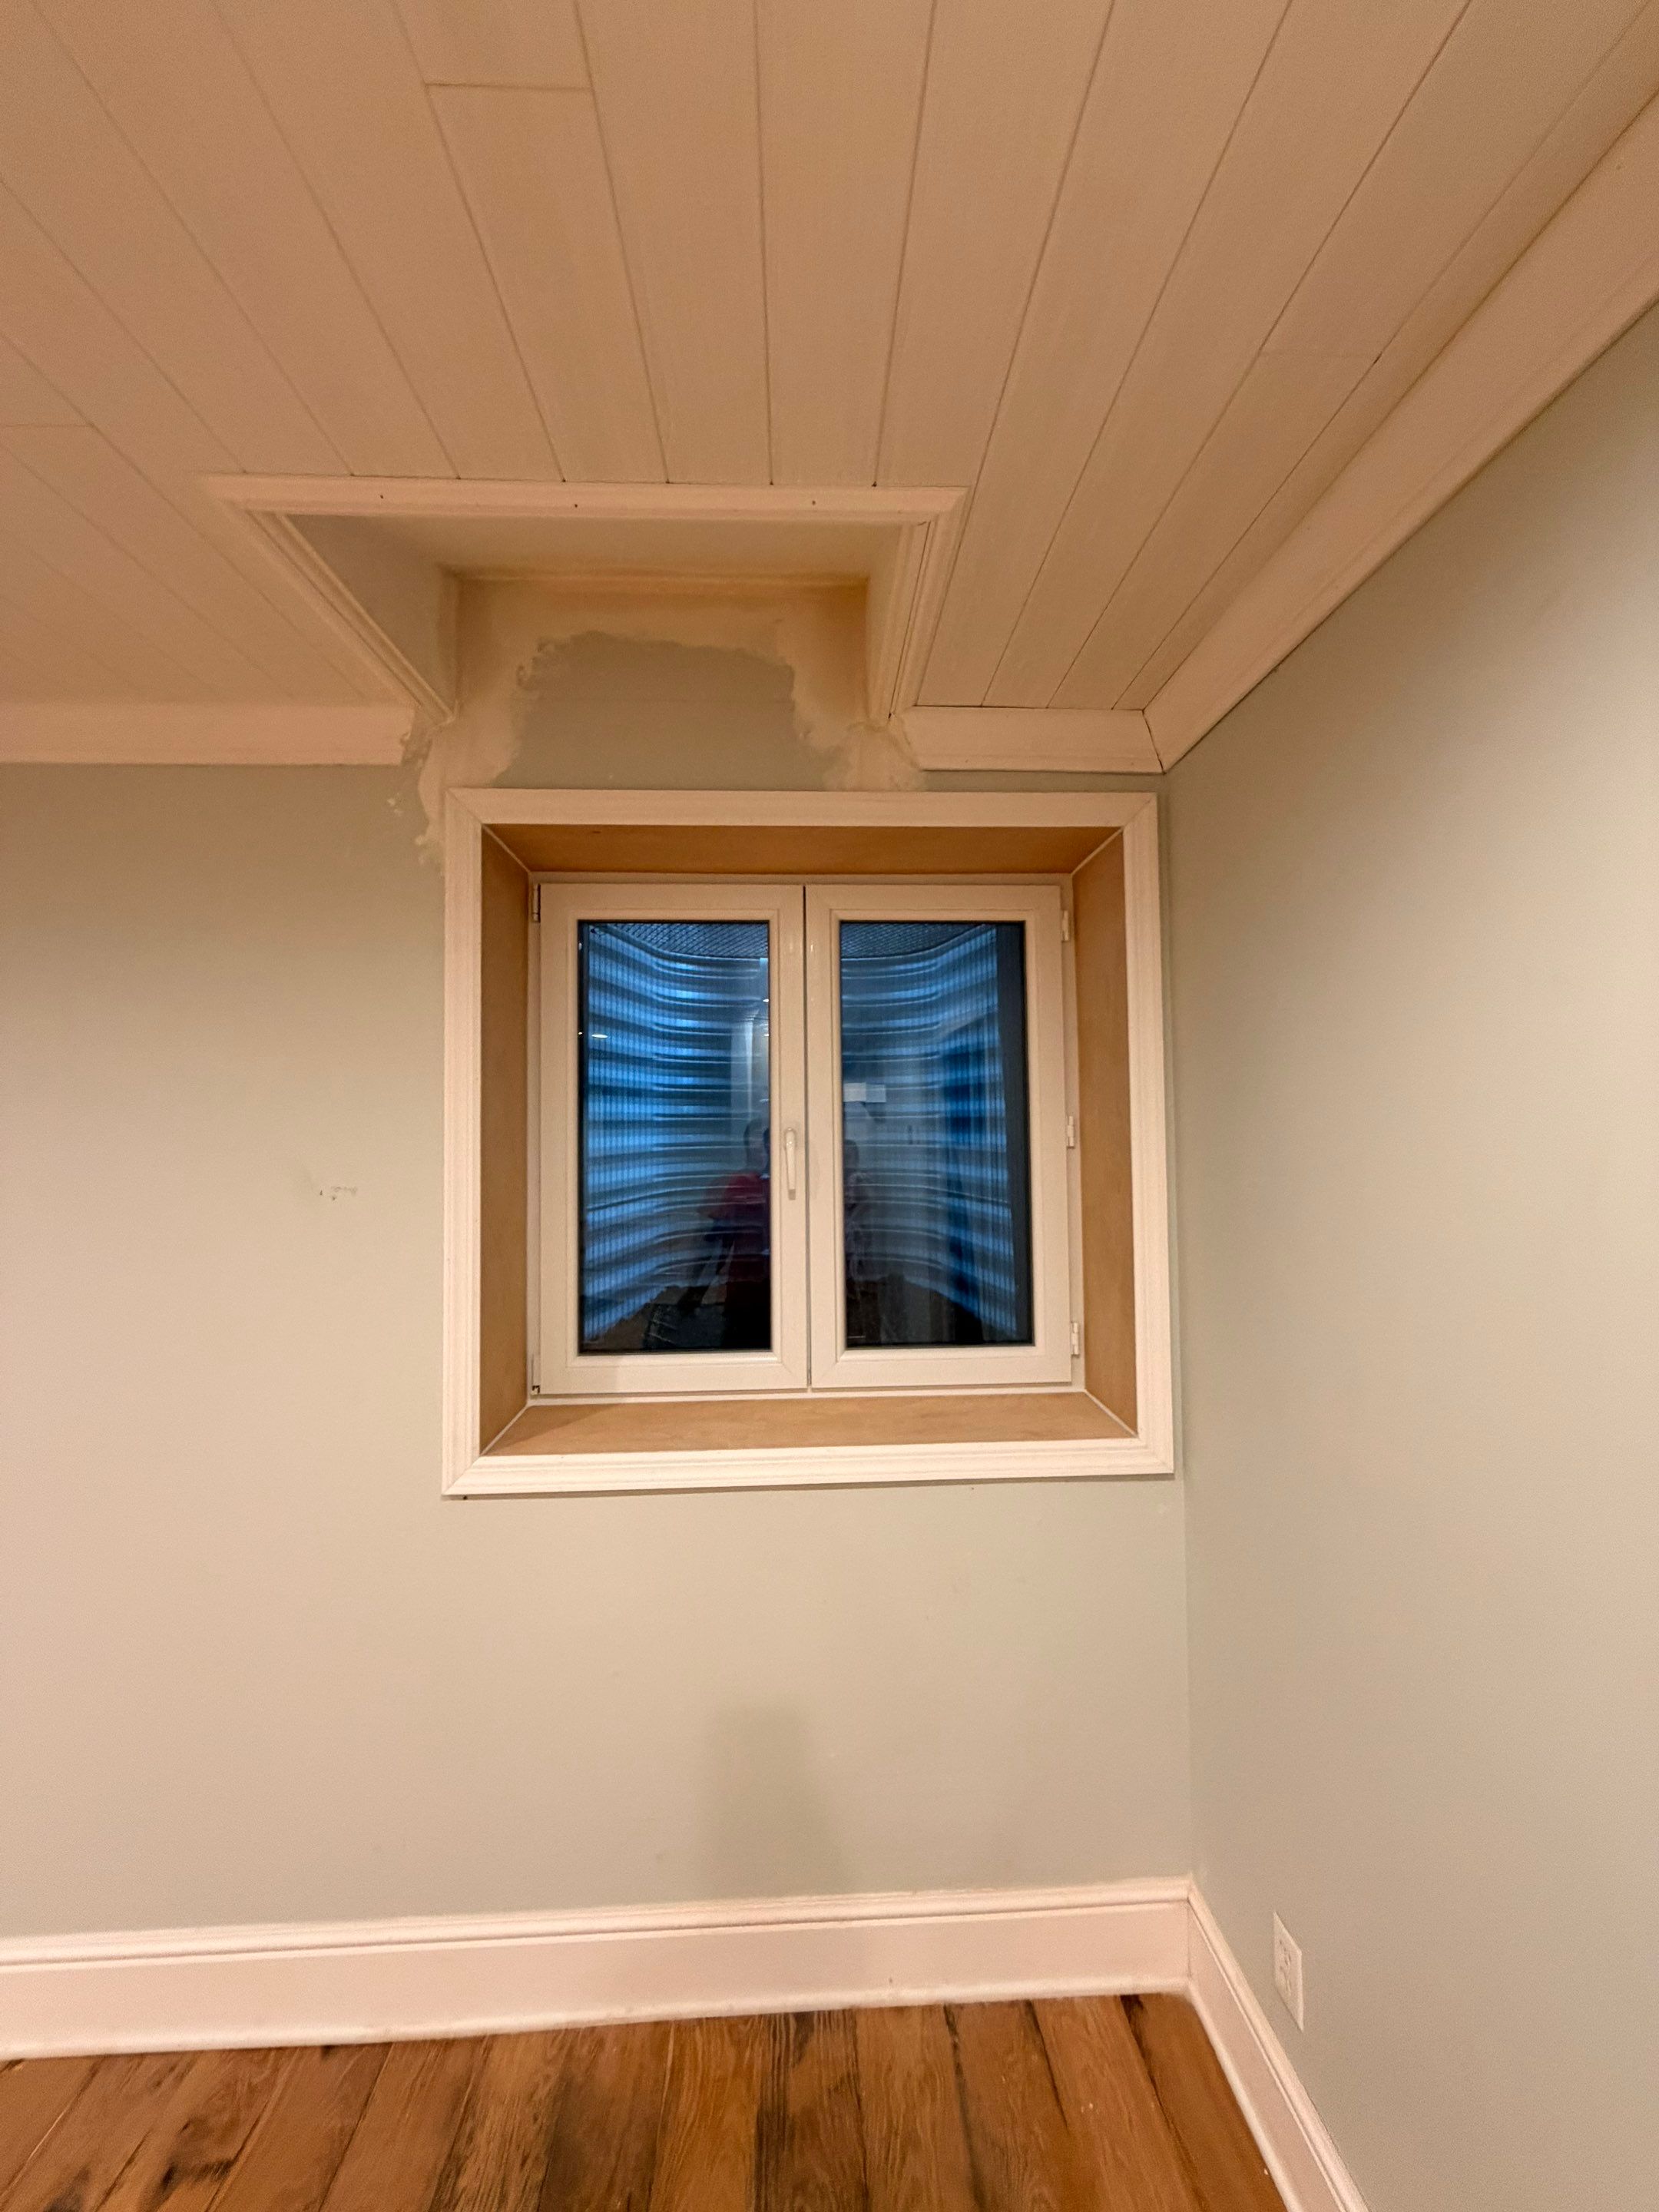
Take a wider interior view showing the window, floor, ceiling, corners, and nearby fixtures. Include heaters, shelves, outlets, pipes, furniture, and stored items that affect the approach or operating space. If a ceiling projection or other feature sits above the opening, show that relationship clearly.
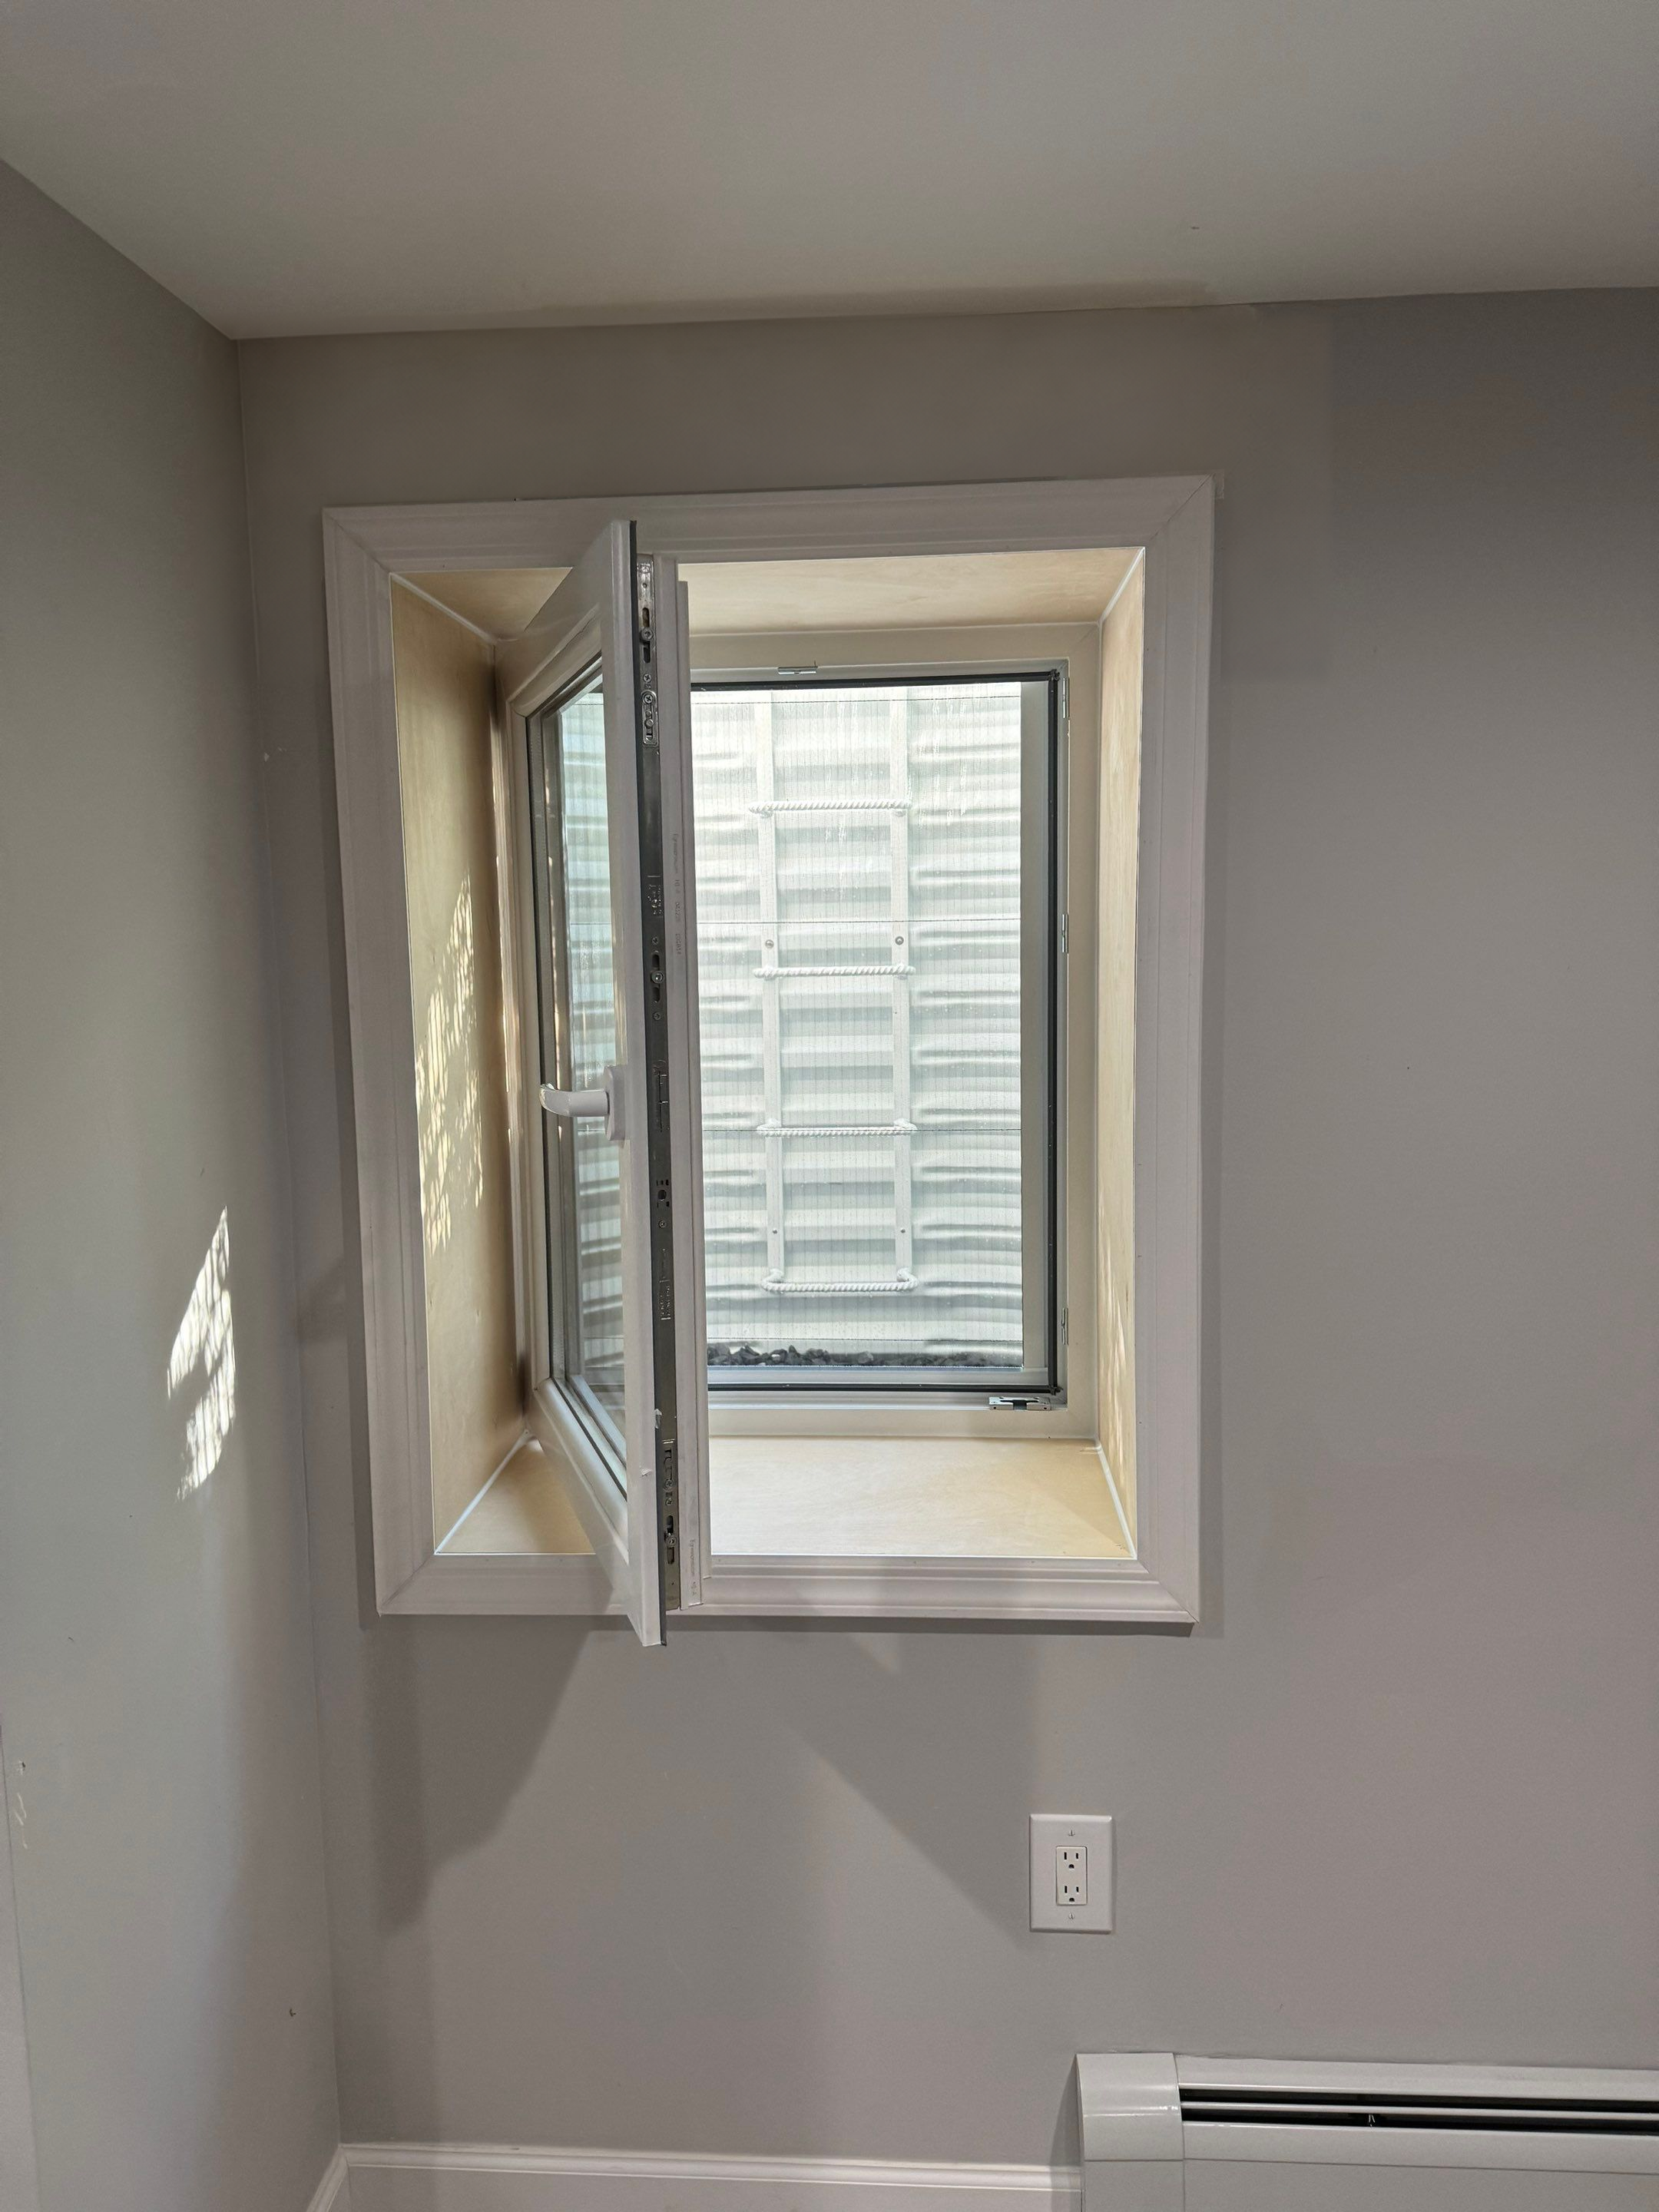
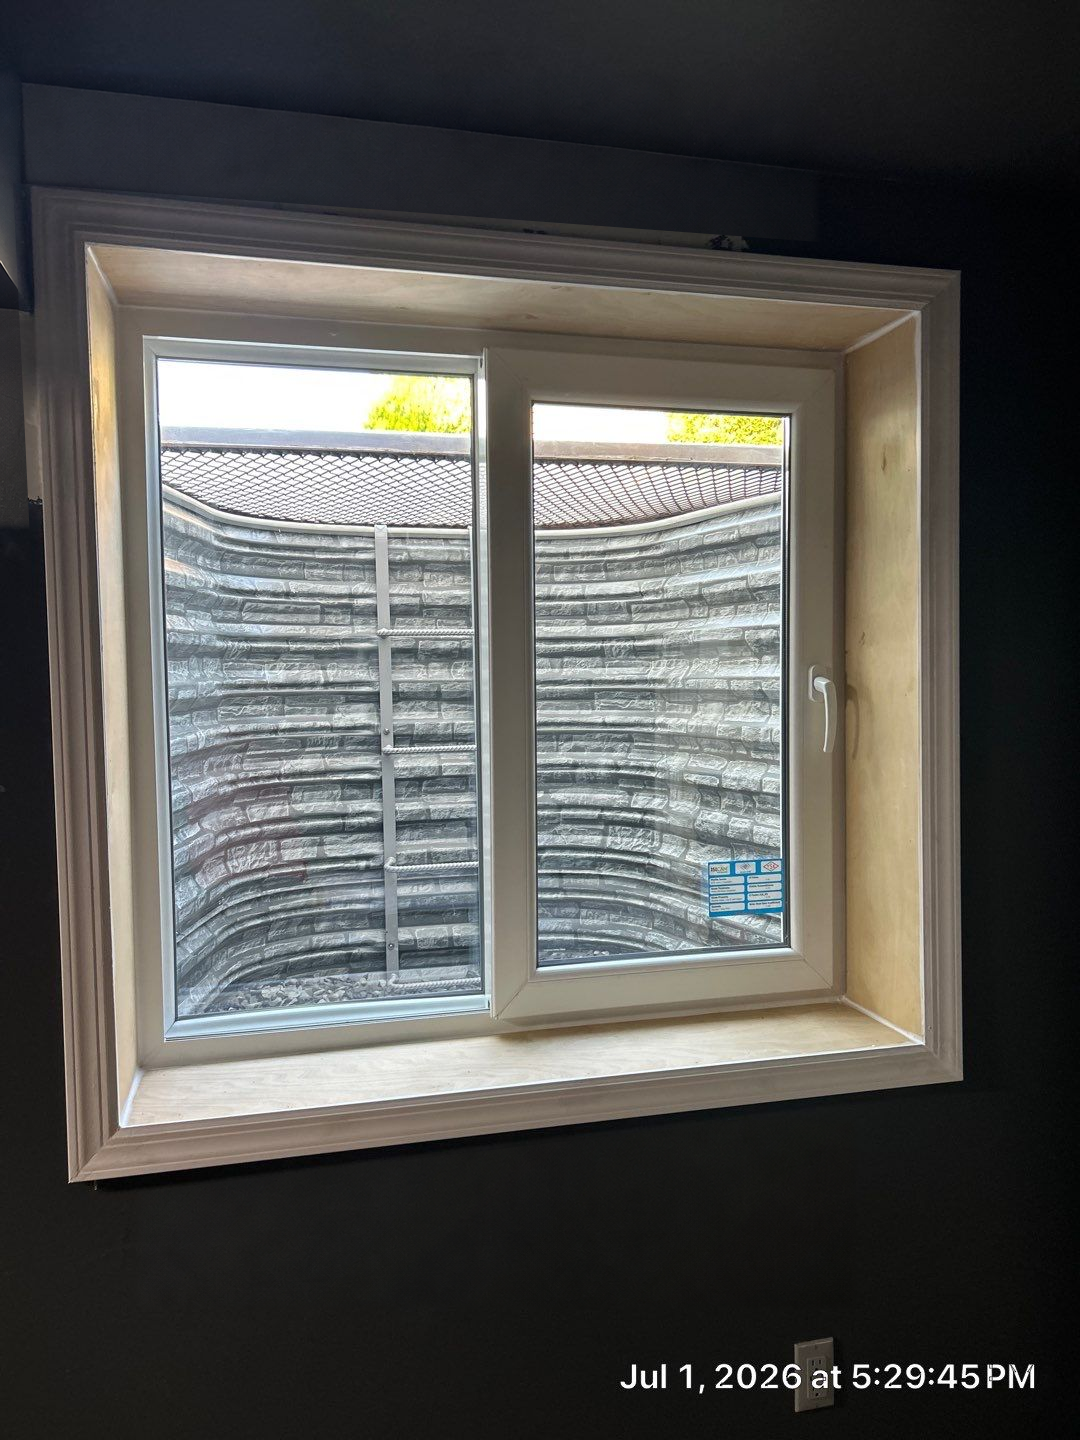
Then add a closer view of the existing window and surrounding wall. Keep visible condition details in the image rather than hiding them with labels or graphics. A simple description of the room’s current use and your intended change helps explain what the photos show.
Show the opening and the wider exterior setting.
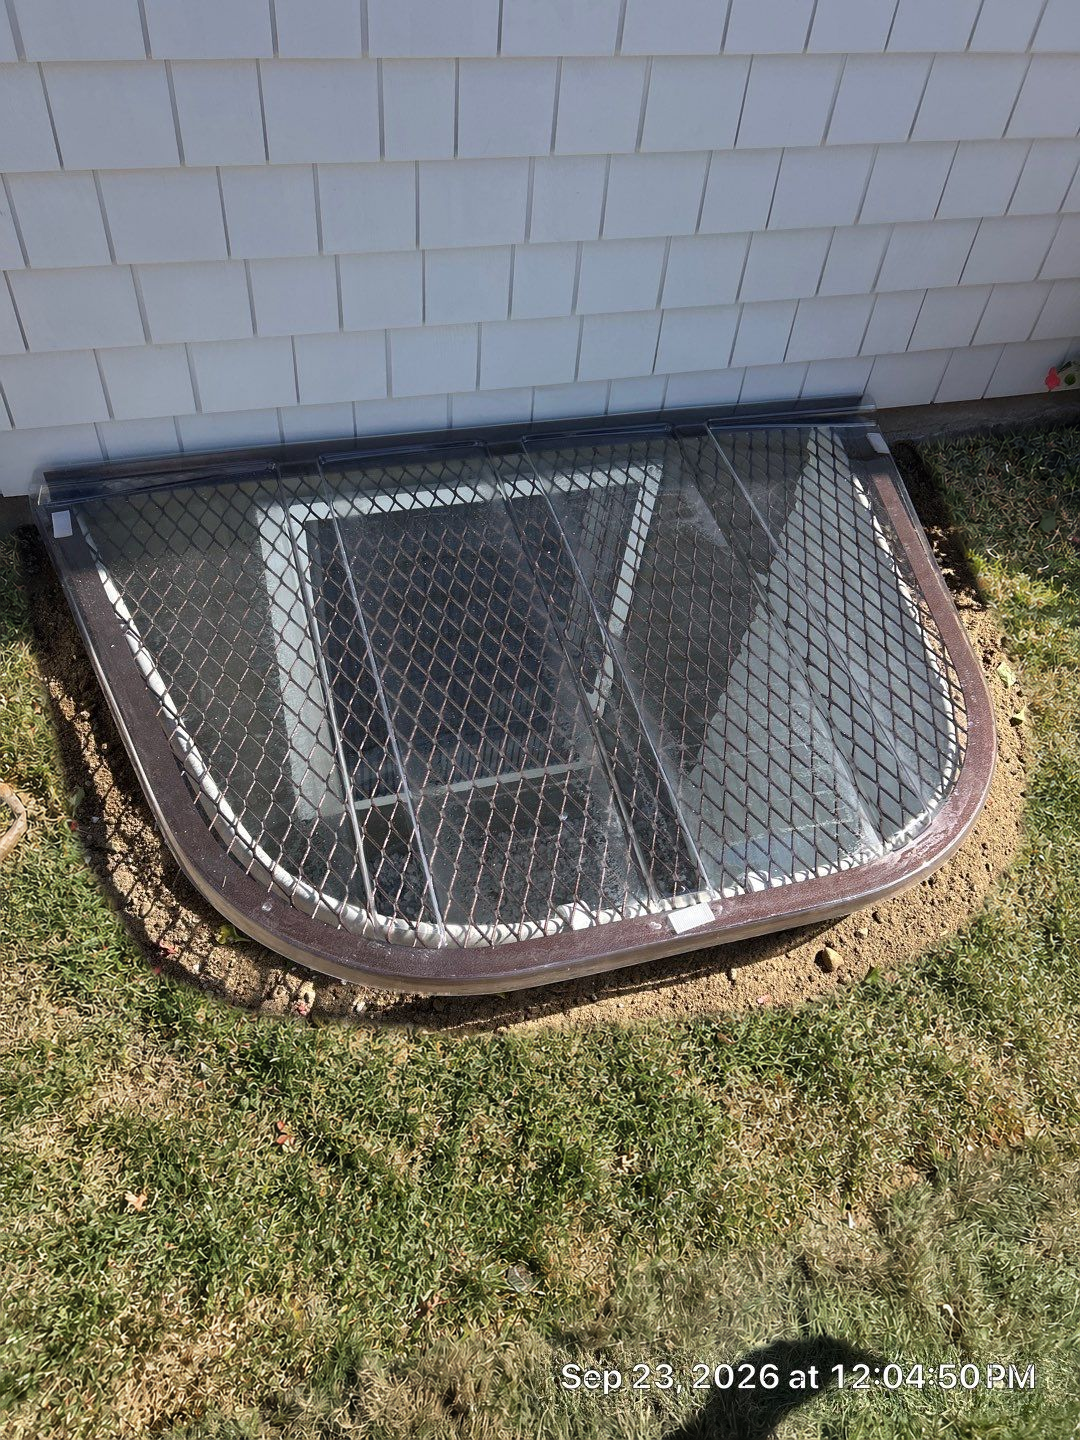
Take an exterior view that locates the window against the foundation and siding. Step back for another view including the surrounding grade, downspouts, planting, paths, steps, doors, and permanent surfaces. These details can be important even when they are not directly beside the glass.
The Fairfield project is a useful example: the covered well sits within a planted bed near stone edging. The wider setting helps explain the well footprint and landscape relationships. An isolated close-up of the cover would leave that context out.
Include the route to the work area.
Show gates, narrow paths, stairs, fences, paving, or other features along the route installers would use. Explain whether the home is occupied and identify access restrictions or areas that need protection. Those are practical coordination questions that a front-of-house photograph may not answer.
Photograph only from safe, ordinarily accessible positions. Do not climb into a well, lean over an unsafe edge, remove a cover, or operate a damaged component just to improve a photo. If a relevant area cannot be photographed safely, describe it to the team instead.
Add a short factual note with the images.
Include the Connecticut town, the opening you are considering, the intended room use, and whether this is a stand-alone project or part of a larger renovation. If drawings exist, identify their current issue or date and explain which location the photos correspond to.
Report known water concerns, previous alterations, and visible condition changes without trying to diagnose hidden causes. If an image was taken during a water event or before another trade’s work, say so. Distinguishing the timing helps the team understand which conditions remain current.
Use photographs to start the assessment, not finish it.
Photos cannot establish a concealed structural condition, the route of a buried drain, exact product performance, or an inspection outcome. Measurements and current documents still need to be coordinated for the actual proposal. A clear photo set makes that next discussion more focused; it is not a substitute for the required site and project review.
For the initial email, share only relevant project information and obtain permission before forwarding another person’s photos or contact details. Avoid including unrelated financial documents or private information in the background. On our contact page, you can review the message first, then attach the images in your email app before sending.
Keep copies of the original images alongside any project notes. If you later send updated photographs, identify what changed and which earlier views are superseded. That simple record can help your designer, contractor, and installation team work from the same information.
Key takeaways
- Send wide and close views of the same opening from both sides.
- Include the room, landscape, and installation access route.
- Describe the town, intended use, known concerns, and drawing stage.
- Take photos only from safe positions and keep original copies.